Using Shutter Speed
to control motion
You will need a tripod to do this assignment. Use a moderately lit subject, not too dark and definitely not in sunlight.
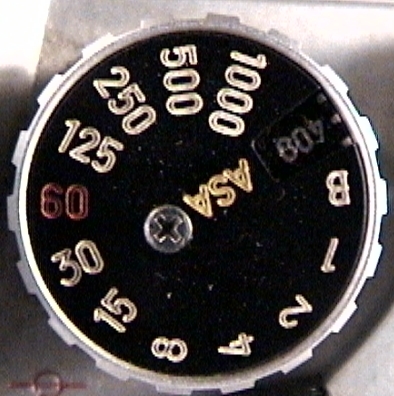
Use the “Equivalent Exposure” wheel to help check your changes in shutter speed and aperture.
Start (3 exposures) see how steady you can hold the camera
by hand holding the camera and shooting at different shutter speeds. Find
a subject that is not moving in the shade or indoors. The subject should
have strong contrast (strong lines or text) to make focusing easy. Make
3 exposures; Start at 1/15 sec then, 1/8 sec, and finally 1/4 sec. Remember
to compensate for the change in shutter speed with the appropriate change
in lens opening.
Next make a series
of photos of different moving subjects
1) Find a subject
that is moving in moderate light. Direct sunlight is too bright to allow
slow shutter speeds. If the light is too dim, you won’t be able to
freeze the motion with a fast shutter speed. Cloudy or shady outdoor light
and bright indoor light should work best. The light in our classroom is
just about right. Your subject should be predictable and consistent. When
starting out you should simplify what you shoot. Pick something that won’t
stop or move away as you set up to shoot. The lighting should also be
consistent.
2) Set up your tripod and compose your photograph, framing to concentrate
on the motion and eliminate distracting elements. You will make multiple
exposures at different shutter speeds without moving the camera.
3) Use your light meter to determine the proper exposure. Remember,
for each photo there is only one proper exposure but there are many combinations
of f/stop and shutter speed to choose from.
4) Adjust your lens opening (f/stop) to the smallest opening (highest
number) like f/16. This will require a long shutter speed to give you
the proper exposure.
5) Check your meter and adjust the shutter speed to get the correct
exposure. Make your first exposure and record your settings.
6) Change your lens opening to the largest opening (lowest number)
like f/2 or f2.8 and change your shutter speed to get the proper exposure.
Your shutter speed should be much faster. Make your second exposure and
record your settings.
If the lighting is not optimal, you might not be able to use the largest
and smallest lens openings.
7) Shoot 2 more exposures that fall between exposures # 1 and #
2 and record your settings- this gives you four shots per subject.
camera doesn’t move between shots ~ only change in shutter speed
and aperture)
Now repeat this
sequence with more subjects, try for variety.
Finish the roll by experimenting with different shutter speeds and moving
objects.
Shoot to freeze motion with a sunlit subject and try long exposures in
dim light or at night.
You will turn in a pair of prints showing the effects
of a change in shutter speed.
(2 - 5x7 prints) of the same subject
Make sure everything that you turn in is labeled. Name - Date - Roll # - Frame #
