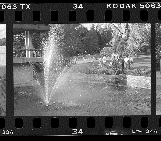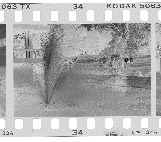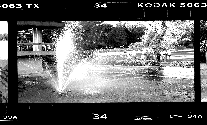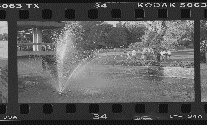

2) Place the negative in the enlarger so that the clear strip between the frames is showing. Frame and focus the enlarger to make a 4 x 5 size print

2)
Using no filter, make a test strip and then a print of this negative making
this clear strip just go black like we do with a "proper
proof"
(Minimum time for Maximum Black)
Grayscale link
3) Repeat using a number 4 filter and then a number
0 filter. Your exposure times will change (longer) when using a filter
(open the lens up if necessary). A new test strip is required every time
you change contrast.
Make your test stripl like this- include the clear stripe in each step-
expose so that you have a range of tones from too light to too dark -
pick the time where the stripe goes black for your exposure time of the
print. You need a new test strip for each filter. The filter holds back
light so you might have to open the lens aperture (f/stop).


The Black stripe should be the same density in each print. Note how the change in contrast affects the tonality in the highlight and midtone areas of your print.